Most homemade iced coffee comes out thin and watery the moment ice hits the cup.
Moka pot iced coffee solves that problem by starting with a concentrated, espresso-strength brew that holds its flavor through a full glass of ice.
This guide covers everything from brewing your first batch to building iced lattes, iced mochas, and iced Americanos that rival what you’d get at a coffee shop for a fraction of the cost.
All you need is a stovetop moka pot, good beans, and about ten minutes.
Why a Moka Pot Makes Better Iced Coffee
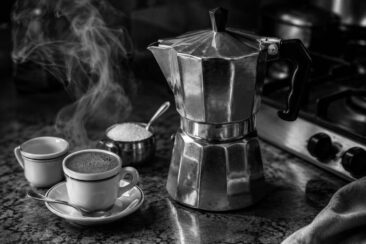
A moka pot brews coffee by pushing steam-pressurized water through finely ground beans, producing a concentrate much stronger than a standard drip machine.
That extra strength is the entire reason it works so well for iced drinks.
Regular-strength coffee loses most of its flavor the second ice starts melting into it, leaving you with a bland, diluted glass.
Moka pot coffee stays bold and full-bodied through that dilution, with enough intensity to carry chocolate and caramel notes straight to the last sip.
The cost savings add up fast.
A quality moka pot runs $25 to $40 and lasts for years, which means your daily iced coffee habit drops from $4 to $5 per cup at a café to pennies per serving at home.
You don’t need barista training or expensive equipment, just a stovetop and a few minutes of patience.
What You Need for Moka Pot Iced Coffee
Gathering your supplies before you start brewing makes the whole process smoother and faster.
Moka Pot
A 3-cup or 6-cup Bialetti or similar stovetop moka pot is the only real investment here.
The moka pot works by forcing pressurized steam through a basket of ground coffee, delivering a concentrated brew in under five minutes with no paper filters and almost no cleanup.
A 3-cup model produces roughly 4.5 ounces of coffee, which is enough for one strong iced latte.
The 6-cup model gives you enough for two drinks or one extra-bold serving.
Coffee Beans
Buy whole beans from a local roaster and look for a roast date within the past two weeks.
Medium roast and medium-dark roast beans perform best in iced preparations, carrying heavier chocolate and caramel notes that cold temperatures bring forward rather than suppress.
Light roasts can work, but their brighter acidity sometimes reads as sour once the coffee is chilled.
Grinder
A burr grinder gives you a consistent, medium-fine grind that prevents the bitter over-extraction or weak under-extraction you get from uneven pre-ground coffee.
If you don’t own a grinder yet, ask your local roaster to grind your beans on a medium-fine setting when you buy them.
Ice, Milk, and Sweeteners
Fill your ice trays with filtered water the night before so you always have a full batch ready.
Whole milk creates the richest moka pot iced lattes, but oat milk froths well and adds a natural sweetness that pairs with coffee without overpowering it.
For sweeteners, use liquid options like simple syrup, honey, or maple syrup, since granulated sugar won’t dissolve properly in a cold drink.
How to Brew Moka Pot Iced Coffee Step by Step
Start with 15 to 20 grams of medium-fine ground coffee, measured on a kitchen scale for consistency.
Fill the moka pot’s lower chamber with hot water from a kettle, stopping just below the safety valve.
Using pre-heated water shortens the brew time and keeps the grounds from sitting on a hot stove too long, which is a common source of bitterness.
Load the filter basket with your ground coffee and distribute it evenly with a toothpick or WDT tool, but do not tamp it down.
Set the basket into the lower chamber and screw the upper chamber on tightly.
Place the moka pot on your stove over medium-low heat and leave the lid open so you can watch the coffee emerge.
Once a steady, honey-colored stream stops flowing and you hear a hissing or gurgling sound, pull the pot off the heat immediately.
Let the brewed coffee rest for 30 to 60 seconds so it cools just enough to handle.
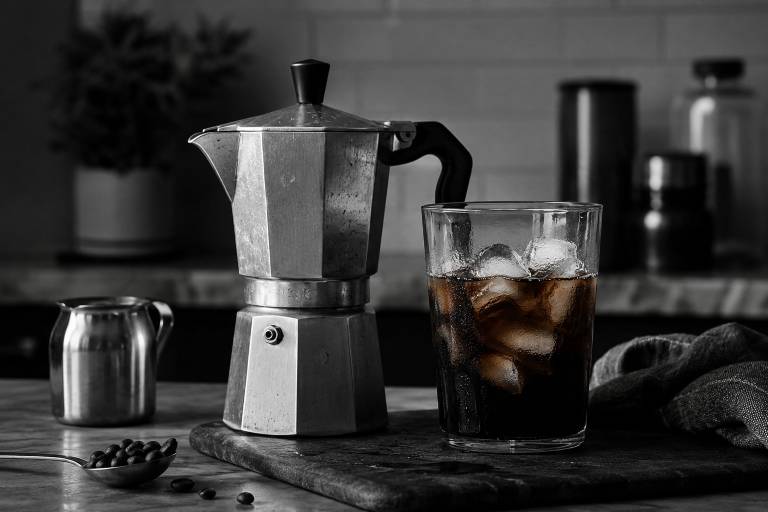
Fill a tall glass to the top with ice, pour the hot coffee directly over the ice, then add your milk and sweetener.
Stir everything together and drink it right away for the strongest flavor.
How to Fix Watery or Bitter Results
The two most common complaints about this drink are that it comes out either too watery or too bitter.
Watery results almost always come from using too little coffee or too much ice relative to the brew volume.
A 3-cup moka pot paired with a full pint glass of ice will produce a mild drink, so either brew a second batch or use a 6-cup pot when you want a bigger serving.
Freezing leftover moka pot coffee into ice cubes is another fix: your drink chills without losing any strength as the cubes melt.
Bitterness comes from a different direction, usually over-extraction caused by heat that’s too high or a grind that’s too fine.
Keep your stove at medium-low and never crank it to high.
If the coffee sputters and sprays out of the spout aggressively, your heat is too intense and the water is passing through the grounds too fast.
Pulling the pot off the burner the moment you hear hissing or gurgling stops the extraction before it turns harsh.
Three Iced Coffee Variations Worth Trying
Once you’ve nailed the base recipe, these three drinks give you something different for every mood.
Caramel Iced Latte
Brew a full pot of moka coffee and let it cool for about 30 seconds.
Add one to two tablespoons of caramel syrup or caramel sauce to the bottom of a tall glass, then fill the glass with ice.
Pour the hot coffee over the ice and caramel, stir until the syrup dissolves, and top it off with cold milk or oat milk.
The caramel cuts through the coffee’s intensity and adds a buttery sweetness that makes this taste like a $6 café drink.
Iced Mocha
Pour two tablespoons of chocolate syrup into a glass of ice before adding your fresh moka pot brew.
The hot coffee melts the chocolate into a smooth base that cold milk then softens into something creamy and indulgent.
Top it with a dollop of whipped cream or a scoop of coffee ice cream if you want to treat it more like a dessert.
Iced Americano
This is the lightest, cleanest variation of the three.
Brew your moka pot as usual, pour the concentrate over a glass of ice, and add 4 to 6 ounces of cold filtered water instead of milk.
The water opens up the coffee’s flavor without adding any dairy weight, letting you taste every note from the beans themselves.
Choose a medium roast with lower acidity for the best Americano results, since bright or fruity beans can read as sour in this stripped-down format.
Tips for a Bolder, Smoother Brew
Choosing the right beans makes a bigger difference than any brewing trick.
Look for specialty-grade Arabica beans with tasting notes that lean toward chocolate, nuts, or caramel, since these flavors hold up better at cold temperatures than fruity or floral profiles.
Grinding right before you brew captures volatile aromatics that pre-ground coffee lost weeks ago on the shelf.
Aim for a medium-fine consistency, roughly the texture of table salt.
Your coffee-to-water ratio controls everything about strength: start with one gram of coffee per seven to eight grams of water and adjust from there.
Lighter roasts may need a slightly higher dose of coffee to avoid tasting thin once ice dilutes the brew.
If your moka pot produces 4.5 ounces of concentrate, plan your glass size and ice amount around that volume so the final drink isn’t overwhelmed by meltwater.
Storing whole beans in an airtight container away from sunlight and heat keeps them fresh for up to two weeks after the roast date.
After that window, the beans start losing flavor fast.
Final Thoughts
A moka pot and a bag of fresh beans are all it takes to stop settling for weak, overpriced iced coffee.
The concentrated brew it produces holds up against ice in a way that drip coffee and French press coffee never will.
Try the caramel latte first if you like sweeter drinks, or go with the iced Americano if you prefer something cleaner.
Once you dial in your grind size and ratio, you’ll have a repeatable morning routine that takes less than ten minutes from stove to glass.
Your wallet will feel the difference by the end of the first week.