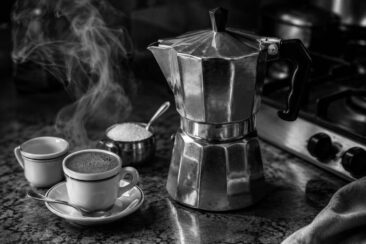
A stovetop moka pot, a carton of whole milk, and ten minutes are all that stand between you and a thick, foamy moka pot cappuccino that costs pennies per cup.
No espresso machine is required.
This guide covers every step of the process, from grinding the beans to spooning that final layer of microfoam on top.
You will learn the right coffee-to-milk ratio, the frothing method that works best without a steam wand, and what to do if your first attempt falls flat.
By the end, your morning cappuccino routine will feel like second nature.
What Is a Cappuccino?
A cappuccino is an Italian coffee drink built from espresso, steamed milk, and a dense cap of milk foam.
The traditional recipe calls for equal parts of all three, usually served in a 5- to 6-ounce cup so the coffee flavor stays concentrated.
Cappuccino first gained popularity in Italian cafés during the early 20th century, and it has since spread to coffee menus worldwide.
What separates it from a latte is the foam layer, which should feel thick and velvety on your lips rather than thin and bubbly.
Getting that texture right at home is the challenge this guide will help you solve.
Why Make Cappuccino at Home With a Moka Pot?
A moka pot is one of the most affordable ways to brew concentrated, full-bodied coffee that mimics the strength of espresso.
Alfonso Bialetti designed the original in Italy in 1933, and the three-chamber stovetop brewer has barely changed since then.
Unlike capsule machines and automatic brewers, a moka pot gives you direct control over grind size, water temperature, and extraction time, so each cup matches your personal preference.
The total setup cost, including a moka pot and a French press for frothing, rarely exceeds $40.
Equipment and Ingredients for Moka Pot Cappuccino
You do not need a long shopping list, but a few specific tools will help you produce consistent results every time you brew.
Below is a breakdown of each item and what it does.
1. A Moka Pot Coffee Maker
The moka pot is a three-chamber stovetop brewer that pushes hot water through a bed of ground coffee using steam pressure.
It consists of a bottom water chamber, a middle filter basket for the grounds, and a top chamber where the brewed coffee collects.
Most home baristas find that a 3-cup or 6-cup model is the right size for one or two cappuccinos.
A moka pot produces coffee that is stronger and thicker than a drip machine, which makes it a good stand-in for espresso in milk-based drinks.
2. A Quality Coffee Grinder
A burr grinder grinds beans to a uniform size, which leads to more even extraction and a cleaner-tasting cup.
Blade grinders chop the beans at random, creating a mix of dust and large chunks that over-extract and under-extract at the same time.
When brewing moka pot cappuccino at home, aim for a medium-fine setting that matches the texture of table salt, and keep your grind size consistent from batch to batch.
3. A Coffee Scale
Weighing your coffee and water removes guesswork and keeps your results repeatable.
A scale with 0.1-gram precision lets you dial in exact ratios, so you can reproduce a great cup or adjust a mediocre one without confusion.
4. A French Press
A French press doubles as a milk frother when you pump its plunger through heated milk.
Heat whole milk on the stovetop to about 150°F, pour it into the press, and pump the plunger rapidly for 15 to 20 seconds until the milk expands into dense microfoam.
This method removes the need for a separate frothing device and costs nothing extra if you already own a French press.
5. A Milk Frother
A handheld electric frother is another option for creating cappuccino foam at home.
These battery-powered wands spin at high speed and can turn a cup of warm milk into foam in under 30 seconds.
Look for a model with adjustable speed settings so you can control foam density.
Frothers work well for quick single servings, and most cost less than $15.
6. A Thermometer
Milk heated beyond 160°F develops a scorched flavor that overpowers the coffee.
A digital kitchen thermometer lets you hit the 150°F to 155°F sweet spot every time, which keeps the foam sweet, stable, and free of burnt notes.
7. Filtered or Bottled Water
Water makes up the bulk of your finished drink, so its quality affects flavor more than most people expect.
Tap water treated with chlorine or carrying high mineral content can leave a metallic or flat taste in the cup.
Filtered water strips out those off-flavors and lets the coffee’s natural character come through.
8. Milk
Whole milk froths the most easily and produces the creamiest foam, thanks to its higher fat content.
Oat milk and soy milk are workable dairy-free substitutes that froth reasonably well, and almond milk can work in a pinch if you prefer a lighter body.
Tap the bottom of your frothing vessel against the counter after frothing to pop any large bubbles, then swirl the milk until its surface looks smooth and glossy.
9. A Stainless Steel Milk Jug
A stainless steel jug conducts heat evenly and cleans up faster than plastic or ceramic alternatives.
Its polished interior lets you see the foam texture as you pour, which helps you layer the cappuccino correctly.
How to Pick the Right Coffee for Moka Pot Cappuccino
Start with an espresso blend, since these beans are roasted and formulated to taste balanced when combined with milk.
A medium roast will give you a wider range of flavor notes, from chocolate and caramel to stone fruit and toasted nuts, without tipping into the ashiness that darker roasts sometimes carry.
Single-origin beans can work too, but their brighter acidity may clash with the sweetness of frothed milk if you are new to specialty coffee.
Freshness matters more than brand name.
Buy beans roasted within the past two to four weeks, and grind them right before brewing so the volatile aromatics end up in your cup instead of evaporating on the shelf.
The grind should be fine enough to slow the water through the filter basket without clogging it, producing a brew time of roughly four to five minutes on the stovetop.
Coffee to Milk Ratio for Moka Pot Cappuccino
A classic Italian cappuccino follows a 1:1:1 ratio of espresso, steamed milk, and foam, served in a small cup that keeps the coffee flavor front and center.
When using a moka pot, a 1:2 ratio of coffee to total frothed milk works better, since the brew is slightly less concentrated than true espresso.
Experiment with small adjustments until you find the strength you prefer, and weigh your portions with a scale to keep each cup consistent.
The foam layer should fill roughly the top third of the cup, thick enough to hold a dusting of cocoa powder on its surface without sinking.
Step-by-Step Moka Pot Cappuccino Instructions
Making a moka pot cappuccino at home is simpler than it looks once you break the process into short, manageable steps.
Follow this sequence from start to finish, and you will have a foamy cappuccino in your hands within ten minutes.
1. Boil and Prepare the Water
Start by heating filtered or bottled water in a kettle until it reaches a near-boil.
Fill the bottom chamber of your moka pot with the hot water, stopping just below the safety valve.
Using preheated water shortens the brew time and prevents the grounds from sitting on a hot stove long enough to burn.
2. Grind the Coffee
Grind your beans to a medium-fine consistency, similar to table salt.
A burr grinder gives the most uniform particle size, which pulls a balanced extraction without harsh bitterness.
Espresso blends made from a combination of Arabica and Robusta beans hold up well under the moka pot’s steam pressure.
3. Load the Moka Pot
Spoon the ground coffee into the filter basket, leveling the surface with your finger or a flat edge.
Do not tamp the grounds down, since the moka pot relies on lower pressure than an espresso machine and packing the basket too tight can choke the flow.
Tap the side of the basket lightly to settle the grounds, then screw the top chamber onto the base.
4. Heat the Moka Pot
Set the assembled moka pot on your smallest burner over low to medium heat.
Slow, gentle heat gives the water time to pass through the coffee bed at a steady rate, which pulls more sweetness and less bitterness from the grounds.
Brewing too fast on high heat can cause over-extraction and leave a bitter taste in your coffee.
5. Remove From Heat at the Right Moment
Listen for a gurgling, hissing sound coming from the spout of the upper chamber.
That sound means most of the water has been pushed through the coffee bed, and the remaining steam is starting to spit through.
Remove the moka pot from the burner the moment you hear it, then wait about 30 seconds before pouring.
6. Taste the Coffee
Take a small sip of the brewed coffee before adding milk.
Notice the body and the acidity, and pay attention to whether the flavor leans toward chocolate and caramel or something brighter and more citrus-forward.
If the shot tastes harsh or ashy, try a slightly coarser grind next time.
A good moka pot brew should taste strong and concentrated but clean on the finish.
7. Heat and Froth the Milk
Pour whole milk into a small saucepan and warm it over medium-low heat until it reaches 150°F to 155°F on a thermometer.
Transfer the warm milk to a French press and pump the plunger rapidly up and down for 15 to 20 seconds, or until the milk doubles in volume and develops a creamy, paint-like sheen.
If you are using a handheld frother, submerge the tip just below the milk surface and tilt it slightly to create a whirlpool effect.
Tap the vessel on the counter to break any large bubbles, then swirl the milk gently until the foam looks smooth.
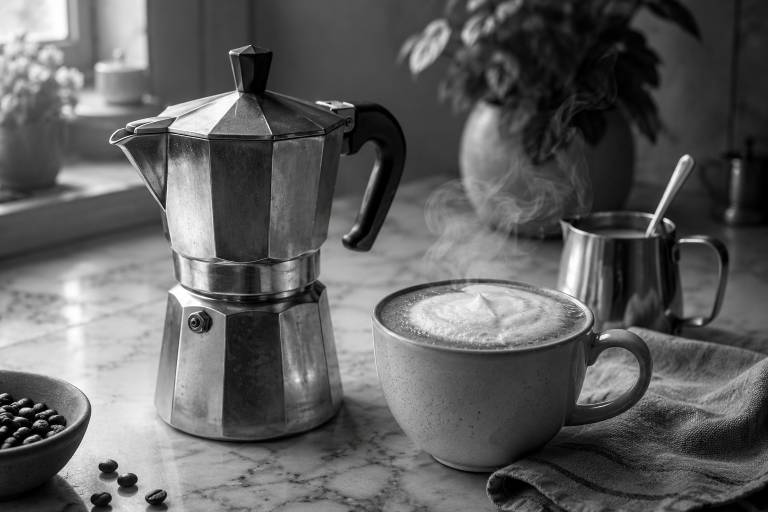
8. Assemble the Cappuccino
Pour the hot moka pot coffee into a warmed 5- to 6-ounce cup, filling it roughly one-third full.
Add the steamed milk by pouring slowly from the side of the cup so it slides under the foam layer.
Spoon the remaining foam on top until the cup is full, then dust with cocoa powder or cinnamon if you like.
Troubleshooting Common Moka Pot Cappuccino Problems
Flat, lifeless foam is the most frequent complaint from first-time home cappuccino makers.
The usual cause is milk that has been heated past 160°F, which breaks down the proteins responsible for trapping air bubbles.
If your coffee tastes weak and watery, try using a finer grind or filling the filter basket more generously.
Bitter, ashy coffee points to over-extraction, which happens when the moka pot sits on high heat for too long or when the grind is too fine for your particular brewer.
Switching to medium-low heat and removing the pot from the burner as soon as the gurgling starts will usually fix this.
Foam that collapses within seconds of being spooned onto the coffee is often caused by old milk or milk with too little fat content.
Fresh whole milk, used within a few days of opening, produces the sturdiest foam.
Tips for a Better Homemade Cappuccino
- Grind your beans immediately before brewing to capture the full range of aromatic compounds.
- Heat the moka pot slowly on medium-low to avoid scorching the grounds.
- Pull the moka pot off the burner at the first gurgling sound so the coffee does not over-extract.
- Use a narrow-spout jug for pouring, which gives you more control over layering.
- Tap the milk vessel on the counter after frothing to collapse large bubbles into tighter microfoam.
- Try oat milk or soy milk for a dairy-free version with its own distinct sweetness.
- Adjust your grind size up or down in small increments if the cup tastes too bitter or too sour.
- Keep practicing your frothing technique, since consistent foam is a skill that improves over weeks, not days.
Cappuccino Variations and Personal Touches
Swapping in flavored syrups or spices is the fastest way to give your moka pot cappuccino a new personality.
A shot of vanilla syrup added to the coffee before you pour the milk softens the roasted notes and creates a dessert-like sweetness.
Mixing a tablespoon of cocoa powder into the espresso turns the drink into a mocha cappuccino that leans rich and chocolatey.
Cinnamon and brown sugar sprinkled over the foam bring warmth without adding liquid, keeping the texture intact.
For hot weather, pour the moka pot coffee over a full glass of ice, add cold milk, and top with cold-frothed foam to create an iced cappuccino that works as an afternoon pick-me-up.
Here are a few more variations to try:
- Latte Macchiato: Pour steamed milk into the cup first, then add the moka pot coffee on top so it sinks through the milk in visible layers.
- Oat Milk Cappuccino: Oat milk froths into thick, slightly sweet foam that pairs well with medium-roast beans.
- Dry Cappuccino: Increase the foam ratio and reduce the steamed milk for a lighter, more intense coffee flavor.
- Wet Cappuccino: Do the opposite, using more steamed milk and less foam for a creamier, milder drink.
Final Thoughts
A moka pot, a French press, and a few minutes of patience are all you need to produce a homemade cappuccino that holds its own against most café versions.
The satisfaction of dialing in your grind, hearing that first gurgle from the stovetop, and watching thick foam settle into the cup is worth the small learning curve.
Start with the ratios and temperatures in this guide, then adjust to your own taste, and your kitchen will quickly become your favorite coffee spot.