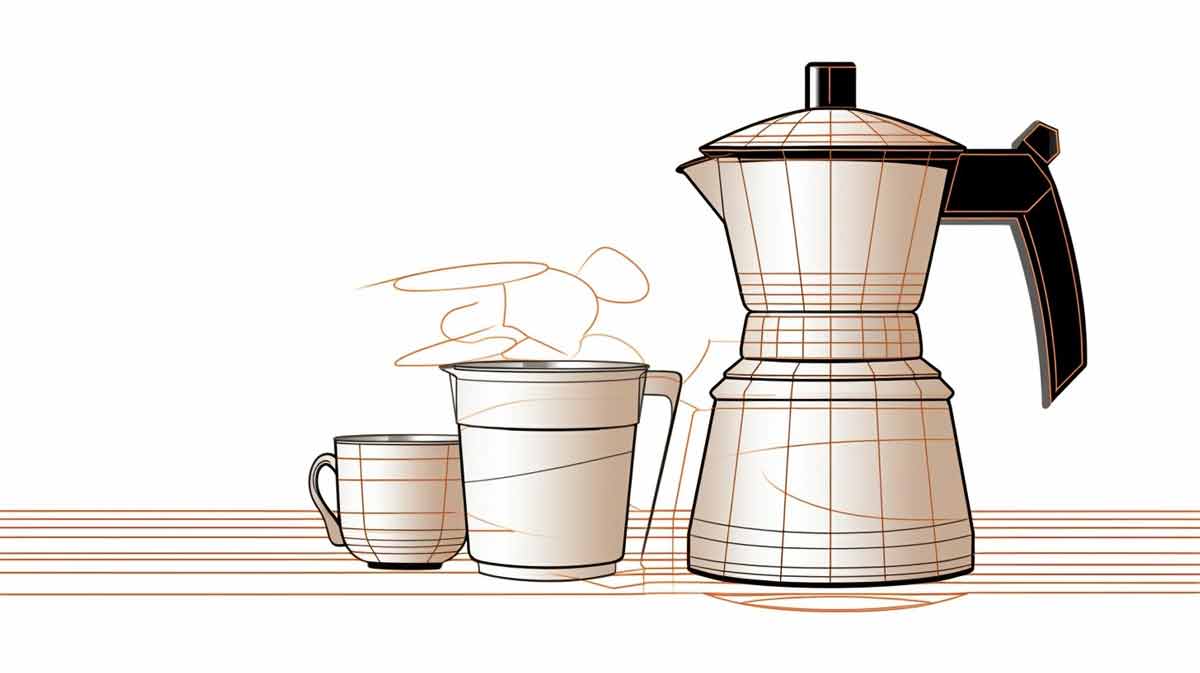
Have you ever wondered if adding milk to your Moka Pot is safe?
This common coffee-brewing dilemma often perplexes coffee enthusiasts keen on relishing creamy, rich flavors.
This article addresses these concerns with a detailed study on the pros and cons of using milk in a Moka Pot.
Stay tuned; this could change the way you make your morning espresso!
Key Takeaways
- Using milk in a Moka Pot adds creaminess, richness, and flavor to your coffee, allowing for the creation of lattes and cappuccinos.
- However, there are cons to using milk in a Moka Pot, such as increased cleanup time, the risk of scalded or burnt milk flavors, residue buildup in the pot, and decreased extraction efficiency of coffee.
- To safely use milk in a Moka Pot, it is recommended to prepare the milk separately before adding it to the pot. Use a handheld frother or steamer/frother machine for optimal results. Maintain proper temperature control to prevent scalding.
Pros and Cons of Using Milk in a Moka Pot
Using milk in a Moka Pot has its pros and cons.
Pros
Introducing milk to your moka pot coffee routine is akin to opening the door to a world of enhanced flavors and possibilities.
It immediately transforms Moka Pot brew’s strong, robust taste into a creamier, rich blend that feels smooth as velvet on your palate.
This enrichment of texture makes each sip a delight.
It amplifies the underlying flavors in your coffee – unveiling an enticing mix of sweetness, bitterness, acidity, and depth that the intense strength of straight-out-of-the-pot Moka coffee might otherwise overshadow.
But it doesn’t stop at improving flavor profiles; adding milk propels you beyond basic black coffee into making homemade lattes and cappuccinos easily right in your kitchen corner.
The versatility provided by this simple addition expands options for personalized drinks noticeably —A dark chocolate latte? Or caramel macchiato?
With milk alongside your Moka Pot, you can explore these gourmet cafe-style delights from the comfort zone of your home sweet home.
Cons
Using milk in a Moka Pot involves more than just pouring in your choice of dairy or non-dairy product.
It demands additional cleaning time and effort, primarily because heated milk can leave an unwelcome residue behind.
This buildup makes the cleaning process tedious and may also affect the pure taste of coffee brewed in this Italian espresso maker.
More so, it’s worth noting that the risk of scorching comes with milk if not monitored closely.
Scalded or burnt milk imparts a distinctly unpleasant flavor to your Moka Pot coffee, ruining what would have been a perfect brew.
Furthermore, adding milk directly into your brewing process could unintentionally decrease extraction efficiency due to reduced heat transfer from water to coffee grounds.
This means you might have a less robust flavor profile—something no true coffee lover desires when crafting their ideal cup of Joe.
Safety Concerns When Using Milk in a Moka Pot
When using milk in a Moka Pot, there are safety concerns regarding the risk of scalding or burning the milk and the possibility of residual milk deposits in the pot.
Risk of scalding or burning milk
Pouring milk directly into a Moka Pot presents risks of scalding and burning, potentially tainting the otherwise rich brew with an unpleasant charred flavor.
This problem stems from the high heat traditionally used in brewing, which effectively extracts flavorful compounds from coffee grounds but can lead to overheating when it comes to more sensitive dairy products.
Brew with too much heat and your milk may curdle or burn before blending seamlessly with your fresh espresso shot.
The telltale signs are unmistakable – an acrid smell overriding the inviting aroma of freshly brewed coffee and a layer of burnt lactose settling at the bottom of your pot.
Careful temperature control is key to avoiding these pitfalls, as low heat can help ensure your milk heats thoroughly without crossing over into scorched territory.
Residual milk deposits in the pot
Residual milk deposits in the pot can be a concern when using milk in a Moka Pot.
After brewing coffee with milk, there is a possibility of leftover residue coating the inside of the pot.
This affects the flavor of future brews and can lead to clogging in the water tubes if left unaddressed.
Calcium deposits from boiling milk can contribute to this issue, creating a blackened mess that requires thorough cleaning and maintenance.
To prevent these deposits, cleaning your Moka Pot regularly and thoroughly after each use is important.
A simple hot water and dish soap solution will help remove residual milk and keep your Moka Pot functioning optimally for delicious coffee every time.
Steps to Safely Use Milk in a Moka Pot
To safely use milk in a Moka Pot, prepare it separately before adding it.
Use a handheld frother or steamer/frother machine for optimal results.
Maintain proper temperature control to prevent scalding and ensure a delicious cup of coffee.
Preparing milk separately before adding it to the Moka Pot
To ensure the best results when using milk in a Moka Pot, it is essential to prepare the milk separately before adding it to the pot.
This means heating or steaming the milk in a separate container and frothing it if desired.
By doing this, you have better control over the temperature of the milk. You can achieve optimal creaminess and texture without compromising your Moka Pot’s integrity or affecting your coffee’s flavor profile.
Additionally, preparing the milk separately allows for easier cleanup since any potential residue from scalded or burnt milk won’t be left behind in your Moka Pot.
Remember, this extra step may require additional time but ultimately result in a deliciously creamy coffee experience.
Using a handheld frother or steamer/frother machine for optimal results
To achieve the best results when using milk in a Moka Pot, it is highly recommended to use a handheld frother or steamer/frother machine.
These handy tools can elevate your coffee experience by creating creamy, textured milk foam that perfectly complements your brew.
For optimal results, consider investing in the top-rated ElitaPro Ultra-High Speed Double Whisk Handheld Milk Frother of 2024, which has been praised for its exceptional frothing capabilities.
It’s important to note that skim milk tends to froth better than whole milk due to its lower fat content, while lactose-free milk may not yield the same level of frothiness as regular milk.
With various options available in terms of methods and styles of frothers on the market, you can easily find one that suits your preferences.
Maintaining proper temperature control to prevent scalding
To ensure a safe and enjoyable coffee brewing experience with milk in a Moka pot, it is crucial to maintain proper temperature control.
This prevents the milk from scalding and producing off-flavors.
Start by preheating the milk separately before adding it to the Moka pot, which helps regulate the temperature more effectively.
Use a lower heat setting on your stove while brewing to avoid overheating and scorching the milk.
Taking these precautions allows you to create deliciously creamy coffees without unwanted burned or scorched tastes.
Bialetti Mukka Express: A Moka Pot Designed for Milk Usage
The Bialetti Mukka Express is a specialized Moka Pot designed explicitly for brewing coffee with milk.
It is an excellent choice for those who enjoy creamy and rich espresso-based drinks.
Features and benefits of the Bialetti Mukka Express
The Bialetti Mukka Express is a top-of-the-line Moka Pot explicitly designed for milk usage, allowing you to create delicious cappuccinos and lattes right at home easily.
It is made of durable cast aluminum and features three main components: an octagonal base, a funnel-shaped strainer, and an angular pitcher with a hinged lid.
With its ergonomic handle and unique safety valve, the Mukka Express ensures easy handling and added safety during use.
This high-quality Italian brand delivers exceptional craftsmanship and allows for the convenient brewing of a large pot of coffee on gas, electric, or induction ranges.
Whether you’re a self-proclaimed coffee lover or enjoy specialty beverages, the Bialetti Mukka Express offers the perfect solution for easily enjoying creamy and frothy drinks.
Step-by-step guide for using the Mukka Express
To make the most out of your Bialetti Mukka Express and create delicious espresso cappuccinos, follow these simple steps:
- Start by filling the lower chamber of the Mukka Express with cold water up to the designated level, usually marked on the inside.
- Next, add freshly ground coffee to the filter basket. Use a medium-grind coffee for best results and ensure it’s evenly distributed in the basket.
- Place the filter basket with coffee into the lower chamber and screw on the top part securely.
- Pour cold milk into the upper chamber of the Mukka Express, ensuring not to exceed the reference notch indicated inside.
- Now, place the Mukka Express on your stove over medium heat. It’s essential to use a heat source that matches the size of your Moka pot to ensure even brewing.
- As heat is applied, water in the lower chamber will boil and push upwards through the coffee grounds, mixing with milk in the upper chamber as it flows.
- During this process, keep an eye on both chambers to avoid any overflow or scorching of milk. Adjusting heat settings may be necessary depending on your specific stove.
- Once brewed, you’ll notice steam escaping from a valve on top of your Mukka Express. This activates when pressure builds up sufficiently in both chambers.
- Carefully remove your Mukka Express from heat and give it a few minutes to cool down before opening it fully.
- Finally, serve your freshly brewed espresso cappuccino into cups and enjoy its rich creaminess and bar-quality taste from home!
Alternatives to Using Milk in a Moka Pot
Instead of using milk in a Moka Pot, you can explore alternative options such as non-dairy milk, flavored syrups or extracts, and whipped cream or froth as a topping to enhance your coffee experience.
Non-dairy milk options
When using milk in a Moka Pot, non-dairy alternatives can be a great option.
Here are some non-dairy milk options to consider:
- Almond Milk: Almond milk is one of the most popular plant-based milk choices for coffee. It has a subtly sweet and nutty flavor that pairs well with the rich taste of coffee.
- Soy Milk: Soy milk is another common choice for frothing in a Moka Pot. It has a creamy texture and slightly nutty flavor, making it a versatile option for various coffee recipes.
- Oat Milk: It has recently gained popularity due to its creamy texture and mild, slightly sweet taste. It froths well, making it suitable for lattes and cappuccinos.
- Rice Milk: Rice milk is known for its thin consistency and slightly sweet taste. While it may not be as creamy as other alternatives, it can still create frothy beverages in a Moka Pot.
- Hemp Milk: Hemp milk has a distinctive earthy flavor that adds depth to your coffee. It has a creamy texture similar to dairy milk and froths well.
- Coconut Milk: Coconut milk provides a rich and tropical flavor when used in coffee. It adds creaminess and depth without overpowering the taste of your brew.
- Pea Milk: Pea milk is made from yellow peas and offers a smooth texture with a slightly sweet flavor profile that complements coffee well.
- Macadamia Milk: Macadamia milk has a rich, buttery taste that adds indulgence to your morning cup of Joe. Its creamy texture makes it ideal for creating frothy beverages.
Flavored syrups or extracts
Flavored syrups or extracts are a delicious alternative to milk in a Moka Pot.
They can add a burst of flavor to your coffee without the added hassle or cleanup.
Here are some popular options to consider:
- Vanilla: A few drops of vanilla extract can transform your Moka Pot coffee into a sweet and fragrant indulgence.
- Caramel: Add a drizzle of caramel syrup for a rich and decadent twist on your morning cup of Joe.
- Hazelnut: Love the nutty taste? Try adding hazelnut syrup for a delightful, aromatic experience.
- Chocolate: For all chocolate lovers, chocolate syrup or cocoa powder can create a luxurious mocha-flavored coffee.
- Peppermint: Looking for something refreshing? Peppermint extract or syrup can give your Moka Pot coffee a cool, minty kick.
- Almond: If you enjoy nutty flavors, almond extract or syrup is a fantastic option that pairs well with coffee.
- Coconut: Bring a tropical vibe to your cup with coconut syrup or coconut milk for an exotic twist on your Moka Pot coffee.
- Seasonal Favorites: Depending on the time of year, you can experiment with seasonal flavors like pumpkin spice, cinnamon, or gingerbread to spice up your brew.
Whipped cream or froth as a topping
Whipped cream or froth can add a delightful touch to your coffee as a topping.
Here are some reasons why you might consider adding this creamy goodness to your Moka pot creations:
- Enhances flavor: The rich and velvety texture of whipped cream or foam complements the robust taste of Moka pot coffee, enhancing its overall flavor profile.
- Adds visual appeal: A dollop of whipped cream or a layer of foam on top of your coffee looks appealing and adds an inviting and indulgent element to your drink.
- Offers customization options: Whipped cream or foam allows you to customize your coffee according to your preferences. For an added twist, you can experiment with different flavors, such as vanilla or chocolate.
- Provides a luxurious experience: Combining hot Moka pot coffee with the coolness and softness of whipped cream or foam creates a luxurious experience that makes each sip feel special.
- Perfect for special occasions: Whether it’s a festive gathering or a cozy date night, using whipped cream or foam as a topping can elevate the aesthetics and make the occasion feel more celebratory.
Tips for Using Milk in a Moka Pot
Preheat your milk before adding it to the Moka Pot for a smoother and creamier result.
Want to know more tips on using milk in a Moka Pot? Keep reading!
Preheating milk before adding it to the pot
To prevent milk from curdling when using it in a Moka Pot, it’s recommended to preheat the milk before adding it to the pot.
Gently warming the milk over low heat in a separate saucepan or microwave can help stabilize its proteins and minimize the risk of curdling during brewing.
This extra step ensures that your coffee maintains a smooth and creamy texture without any unwanted clumps or lumps.
Preheating also helps bring out the flavors of the milk, enhancing its overall taste in your Moka Pot creation.
So take a moment to warm your milk beforehand and enjoy a perfectly blended cup of coffee with added richness and creaminess.
Using a lower heat setting to avoid scalding
To prevent scalding or burning the milk when using it in a Moka Pot, it’s essential to use a lower heat setting.
This will help maintain a gentle and controlled temperature that allows for proper heating without causing any damage to the milk.
Additionally, low heat can help preserve the coffee’s delicate flavors and prevent unpleasant burnt tastes.
This precautionary measure allows you to enjoy a smooth and well-balanced cup of coffee with just the right amount of warmth from your Moka Pot brewing process.
Cleaning and maintenance recommendations
Keeping your Moka Pot clean and properly maintained is essential for consistently delicious coffee.
Follow these cleaning and maintenance recommendations to ensure optimal performance:
- Disassemble the Moka Pot: After each use, carefully disassemble the Moka Pot by unscrewing the top chamber from the base. Separate the filter basket and gasket as well.
- Wash with warm soapy water: Use warm water and mild dish soap to clean all parts of the Moka Pot. Gently scrub away any coffee residue or stains.
- Avoid abrasive tools: Harsh brushes or sponges can scratch the surface of your Moka Pot. Instead, use a soft cloth or non-abrasive sponge for cleaning.
- Remove stubborn stains: If you encounter stubborn stains or buildup, use distilled white vinegar as a cleaning agent. Fill the bottom chamber halfway with vinegar and let it sit for about 10 minutes before rinsing thoroughly.
- Dry completely: Ensure all parts are completely dry before reassembling your Moka Pot. Dampness can promote bacterial growth and affect the taste of your coffee.
- Store properly: When not in use, store your Moka Pot in a cool and dry place to prevent moisture damage or mold growth.
- Deep clean periodically: Every few months, perform a deep clean by soaking all parts in a mixture of warm water and baking soda overnight. This helps remove any built-up oils or residue that regular cleaning may not eliminate entirely.
- Regularly replace gaskets: Rubber gaskets can wear out over time, resulting in leaks during brewing. Check your gasket periodically and replace it if necessary to maintain proper sealing.
Final Thoughts
Using milk in a Moka Pot can provide a creamy and flavorful twist to your coffee experience.
While there are some considerations, such as time and cleanup, with proper precautions and the right tools, you can safely enjoy lattes, and cappuccinos brewed in a Moka Pot.
Explore this method’s possibilities and elevate your morning routine with delicious homemade espresso-based drinks.