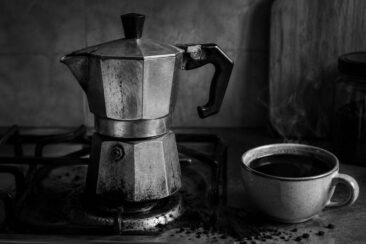
Pouring milk straight into a moka pot sounds like a shortcut to a creamy homemade latte.
The idea makes sense on the surface: the pot heats liquid and pushes it through coffee grounds, so milk should work the same way water does.
It doesn’t.
Milk scorches at a lower temperature than water boils, and the proteins and fats leave a sticky residue that coats every surface inside the brewer.
Worse, that residue can block the safety valve, which is the one part of a moka pot you never want compromised.
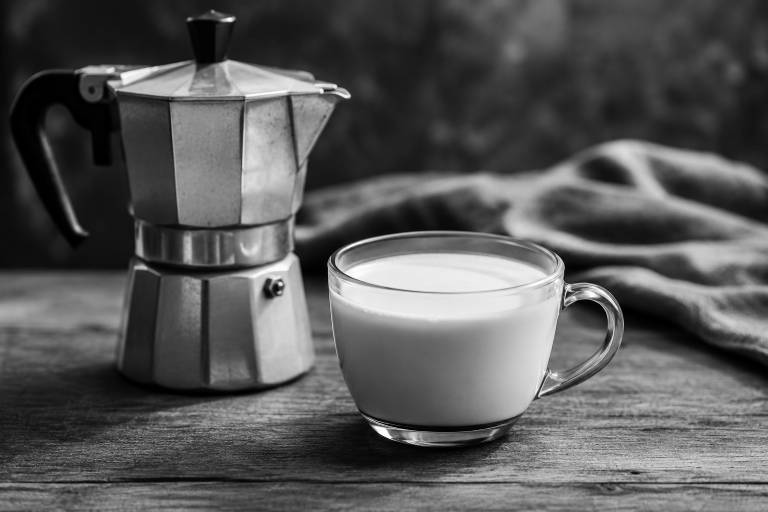
The good news is that making rich, milky moka pot coffee is simple if you keep the milk out of the brewer and add it afterward.
Quick Answer
Never put milk directly in a moka pot’s bottom chamber. Milk proteins start breaking down around 65°C (150°F) and scorch well before the pot can build enough steam pressure to brew. The residue clogs the filter plate and can block the safety valve, creating a pressure risk. Brew with water first, then heat milk separately and combine in your cup. Read on for step-by-step methods, the right ratios, and non-dairy options that froth well.
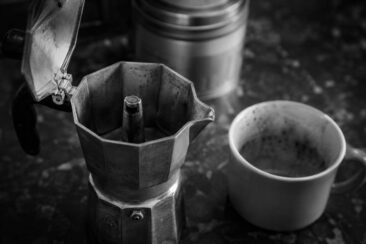
What Happens When You Put Milk in a Moka Pot
A moka pot builds steam pressure in its bottom chamber to force hot water up through the coffee grounds and into the upper chamber.
Replacing water with milk disrupts that entire process.
Milk is roughly 87% water, but the remaining 13% is fat, protein, and lactose, and those components react to heat very differently than pure water.
The proteins (especially lactalbumin) begin to coagulate around 65–70°C (150–158°F), which is far below the temperature needed to generate brewing pressure.
By the time the liquid gets hot enough to push upward, the milk has already begun to curdle and caramelize against the aluminum or stainless steel walls of the chamber.
The smell hits first: a sharp, acrid odor that overpowers any trace of coffee.
Within a couple of minutes, a thick white-yellow film coats the inside of the bottom chamber, the funnel, and the filter plate.
Very little liquid makes it to the upper chamber, and what does arrive tastes like burned lactose with a faint coffee flavor underneath.
The cleanup takes far longer than the brewing attempt itself, with scorched milk baked onto metal surfaces that resist scrubbing.
Common Mistake Assuming that “low heat” will prevent milk from scorching inside the pot. The problem is not just temperature. Milk fat and protein coat the filter holes and restrict flow long before the liquid boils, so lowering the flame only delays the mess without preventing it.
Why Milk in a Moka Pot Is a Safety Risk
The safety valve on a moka pot is a small spring-loaded release near the bottom of the lower chamber.
Its job is to vent excess pressure if the filter plate becomes blocked during brewing.
Milk solids can jam that valve shut.
When the filter plate is clogged with burned protein and fat, and the safety valve is packed with dried milk residue, the pot has no way to release pressure.
Steam continues building inside a sealed metal chamber.
| Scenario | Filter Plate | Safety Valve | Risk Level |
|---|---|---|---|
| Normal brewing with water | Clear | Functional | Very low |
| Milk in bottom chamber, first use | Partially clogged | May have residue | Moderate |
| Milk in bottom chamber, poor cleanup | Heavily clogged | Blocked | High |
| Old or worn pot with milk residue | Clogged | Stuck | Dangerous |
In extreme cases with old or damaged pots, this trapped pressure can crack the bottom chamber or blow the gasket.
Reports of moka pot failures almost always involve a blocked safety valve, and milk is one of the fastest ways to block it.
Check the valve before every brew by pressing it gently with your fingertip to confirm it moves freely.
A clean moka pot brewed with water rarely presents any pressure danger, but a pot that has been used with milk needs thorough inspection before its next use.
Bottom Chamber vs. Top Chamber: Where Milk Causes the Most Damage
The bottom chamber is the worst place for milk in a moka pot, and that is where most people instinctively pour it.
Direct contact with the heat source means the milk scorches almost immediately, and the burned residue travels through the funnel, the filter basket, and into the upper chamber, coating every internal surface.
Adding milk to the top chamber after brewing is a different story.
The coffee arrives hot enough to warm cold milk on contact, and the top chamber never sits directly on the flame.
Pouring a small amount of whole milk or cream into the upper chamber before brewing will heat the milk gently as the fresh coffee rises into it.
The result tastes noticeably creamier than black moka pot coffee, with a softened bitterness and a smoother finish.
The downside is capacity.
A 3-cup moka pot’s upper chamber holds about 150 ml of finished coffee, so adding milk leaves very little room, and the ratio ends up far stronger than a latte or cappuccino.
Sediment from the brew mixes into the milk, which makes the bottom of the cup gritty.
For anyone who wants a proper milk-to-coffee ratio, preparing the milk in a separate container gives much better results.
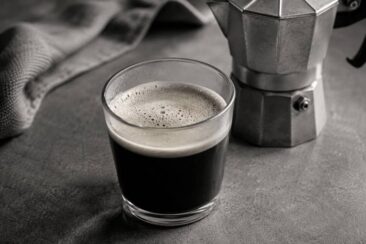
How to Make Creamy Moka Pot Coffee the Right Way
The simplest path to a milky moka pot drink is brewing coffee with water as usual, then combining it with separately heated milk.
This takes about the same amount of time as a failed milk-brewing attempt, and the coffee actually tastes good.
- Step 1: Fill the bottom chamber with water up to just below the safety valve.
- Step 2: Add medium-fine ground coffee to the filter basket and level it off without pressing down.
- Step 3: Assemble the pot and place it on medium-low heat for 4 to 5 minutes, or until coffee flows steadily into the upper chamber.
- Step 4: Remove the pot from heat when the flow turns pale and you hear a hissing, sputtering sound.
- Step 5: Heat milk separately on the stovetop or in a microwave to about 65°C (150°F), just below the point where it starts to steam.
- Step 6: Combine coffee and milk in your cup.
| Drink | Moka Pot Coffee | Milk | Ratio | Notes |
|---|---|---|---|---|
| Café con leche | 1 part | 1 part | 1:1 | Strong and creamy |
| Latte-style | 1 part | 3 parts | 1:3 | Mild and smooth |
| Cappuccino-style | 1 part | 1 part frothed | 1:1 | Top with foam layer |
For frothed milk, a handheld battery-powered frother costs under $15 and creates dense microfoam in about 20 seconds.
Skim milk froths taller and holds foam longer than whole milk, but whole milk produces a richer, silkier texture.
Heat the milk before frothing for the best results, since cold milk produces large, airy bubbles that collapse quickly.
Quick Tip A 3-cup moka pot paired with 150 ml of frothed whole milk makes a single latte-style drink that rivals most café orders for a fraction of the cost, about $0.50 per cup compared to $5 or more at a coffee shop.
Non-Dairy Milk Options for Moka Pot Coffee
Not every plant-based milk behaves the same way in hot coffee, and choosing the wrong one can mean a watery, separated mess in your cup.
Oat milk has become the go-to for coffee drinks, and for good reason: it froths well, stays stable in hot liquid, and has a mild sweetness that pairs with the bold intensity of moka pot coffee.
Soy milk froths into a dense, stable foam and has the highest protein content of any plant milk, which makes it hold its shape on top of a cappuccino-style drink.
Almond milk adds a nutty, slightly sweet note, but it curdles easily in very hot coffee if you don’t choose a barista-blend version formulated to resist separation.
Coconut milk brings a rich, tropical flavor and a heavier mouthfeel, making it a strong match for dark-roast moka pot coffee.
Rice milk is thin and lightly sweet, which works in a latte-style drink but produces almost no foam.
| Milk Type | Froths Well? | Stays Stable in Hot Coffee? | Flavor Notes |
|---|---|---|---|
| Oat | Yes | Yes | Mild, slightly sweet |
| Soy | Yes | Yes | Neutral, creamy |
| Almond (barista blend) | Moderate | Yes | Nutty, light |
| Coconut | Low | Yes | Rich, tropical |
| Rice | No | Moderate | Thin, sweet |
Barista-blend versions of oat and almond milk contain added oils or stabilizers that prevent curdling and improve frothing.
If you have tried regular almond milk in coffee and watched it separate into floating white clumps, the barista version solves that problem.
These options work perfectly with moka pot recipes that call for milk-based ingredients.
The Bialetti Mukka Express: A Discontinued Moka Pot Built for Milk
Bialetti once made a moka pot specifically designed to brew coffee and froth milk at the same time.
The Mukka Express had a pressurized upper chamber with a special valve that frothed milk as the coffee rose into it, producing something close to a cappuccino in a single step.
It worked on gas, electric, and (with an adapter) induction stovetops.
The cow-print design made it instantly recognizable on kitchen counters.
Bialetti discontinued the Mukka Express, and it is no longer available new from the manufacturer.
Used units still appear on eBay and secondhand marketplaces, often priced above their original retail cost, since collectors and coffee enthusiasts seek them out.
Replacement gaskets and filters for the Mukka Express are hard to find, which makes long-term use unreliable.
For anyone who wants a similar result today, the combination of a standard moka pot and a handheld frother produces comparable drinks with easier maintenance and widely available replacement parts.
Learning how a moka pot works helps explain why the Mukka Express needed such a different internal design to handle milk safely.
Flavored Syrups and Toppings: Other Ways to Add Richness
Milk is not the only way to add creaminess or sweetness to moka pot coffee.
A small pour of vanilla syrup, about half a tablespoon, rounds out the bitterness of a strong brew without adding dairy.
Caramel syrup creates a dessert-like quality that works especially well over ice.
Hazelnut syrup adds a warm, toasty aroma that complements dark-roast coffee.
A spoonful of cocoa powder stirred into the cup before adding coffee makes a quick mocha with a deep chocolate bitterness.
Whipped cream floated on top of a fresh moka pot shot makes a simple caffè con panna, with the cold cream melting slowly into the hot coffee and creating a layered temperature contrast on every sip.
These additions go directly into the cup, never into the moka pot itself.
Cleaning Your Moka Pot After Milk Contact
Any time milk touches the inside of your moka pot, a thorough cleaning is necessary.
Dried milk residue turns rancid within hours, and the sour smell transfers directly into your next brew.
Rinse all parts with warm water immediately after use.
Use a mild dish soap and a soft cloth, not an abrasive sponge, to remove milk film from the upper chamber, the funnel, and the filter plate.
For stubborn scorched milk in the bottom chamber, fill it halfway with a mixture of equal parts water and white vinegar, let it sit for 15 to 20 minutes, then scrub gently.
- [ ] Disassemble the pot fully (upper chamber, filter basket, gasket, funnel, lower chamber)
- [ ] Wash each part with warm soapy water
- [ ] Inspect the filter plate holes for dried milk blocking them
- [ ] Press the safety valve to confirm it moves freely
- [ ] Rinse with clean water and dry completely before reassembling
- [ ] Store with the upper chamber unscrewed to allow airflow
A moka pot that smells like old milk will make every cup of coffee taste stale and flat, no matter how fresh the beans are.
Cleaning your moka pot after each use prevents buildup and keeps your coffee tasting clean.
If you notice a lingering burnt taste even after cleaning, run a brew cycle with just water and no coffee to flush any remaining residue from the internal channels.
Your French press coffee can taste muddy for similar residue-related reasons, so the same principle of thorough cleaning applies across brewing methods.
Tips for Getting the Best Milk Coffee from a Moka Pot
A few small adjustments make a noticeable difference in how your moka pot milk drinks turn out.
Preheating the milk to about 65°C (150°F) before combining it with coffee prevents the drink from cooling too fast and keeps the flavors balanced.
Using medium-low heat during brewing produces a smoother, less bitter coffee that blends better with milk.
Frothing milk in a tall, narrow container gives you more control over the foam density than frothing in a wide bowl.
A complete guide to using a moka pot covers the brewing side in more detail, from grind size to heat control.
Beginner Note Start with a 1:1 ratio of moka pot coffee to warm milk. Adjust from there based on how strong you like your drink. Most people settling into moka pot brewing find they prefer slightly more milk than they expected, since moka pot coffee is about twice as concentrated as drip coffee.
Final Thoughts
Milk and moka pot coffee belong together in your cup, never inside the brewer.
Brewing with water and adding heated or frothed milk afterward takes the same amount of time, protects your pot, and produces a drink that actually tastes like something you would order at a café.
A $10 handheld frother and a saucepan are the only extras you need.